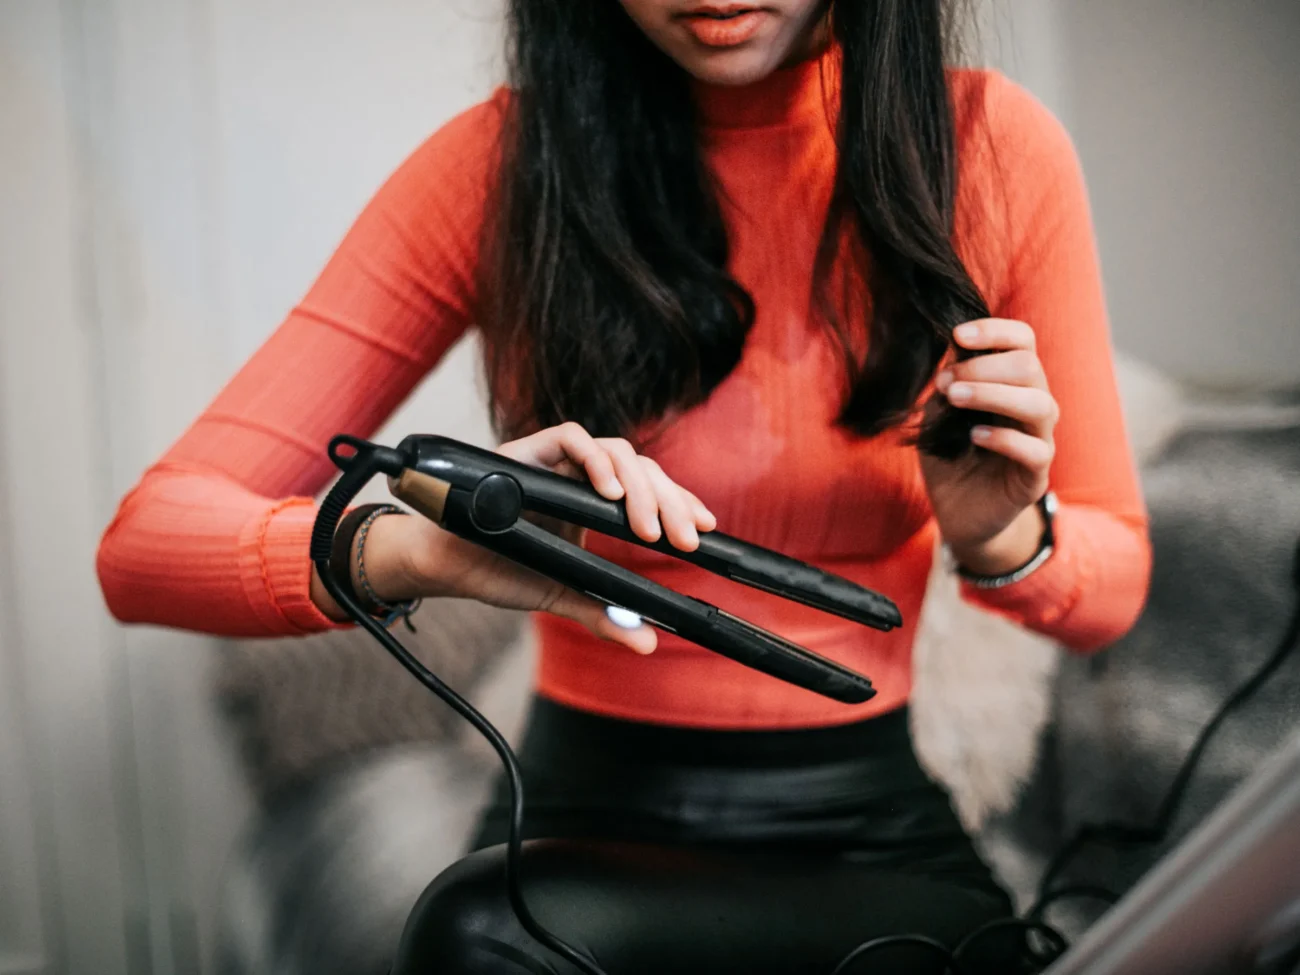
A hair straightener is one versatile hot tool that every lady should have. Yes, you might not want to stick to straightening your lock every time.
But hair straightener does more than straightening your mane; you can use it to create various styles to up your hair game.
Today, we will share some easy hairstyles you can make with your hair straightener.
Remember! Always use a heat protectant before using any hot tools to reduce the risk of heat damage.
1. Barrel Curls
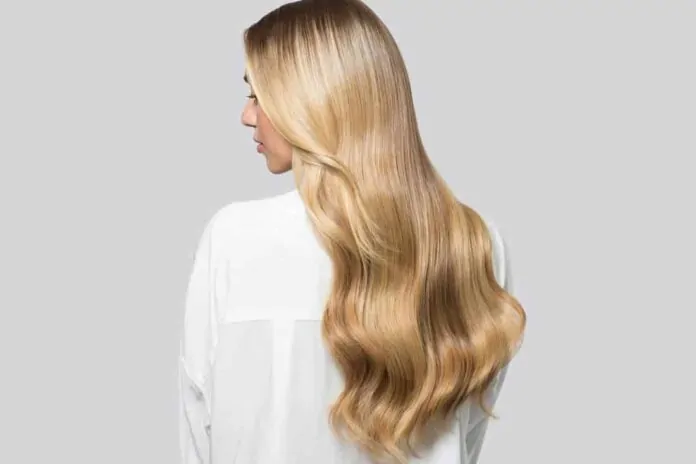
You can create this style to add volume to your hair. Here is how to go about it.
Step1: Section your hair into three or four parts, depending on your preference.
Step2: Pick a section and glide your flat iron down till about 2 inches to the tip of the hair. Curl the end by twisting the flat iron away from your face.
Step3: Repeat the step above for other sections of the hair. Finish up with a finishing spray to give it more shine, texture, and volume.
2. Beach Wave
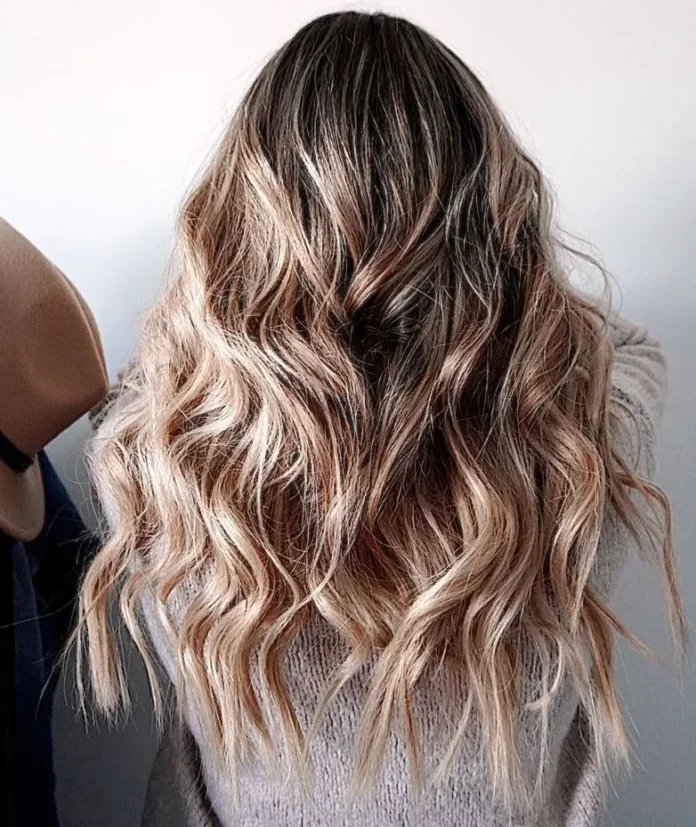
This style is more common during the summer and takes less time and effort to make. Here is how you can create this look.
Step1: Section your hair into 3 to 5 parts depending on your preference and how thick your hair is.
Step2: Clasp a section of your hair at mid-point, then glide it down, twisting your lock away from your face. Move to the next portion and repeat the process till you cover your whole hair.
Step3: Separate the curls by running your hands through your hair, and apply finishing spray. That’s it, quite simple and easy.
3. Crimp Craze Wave
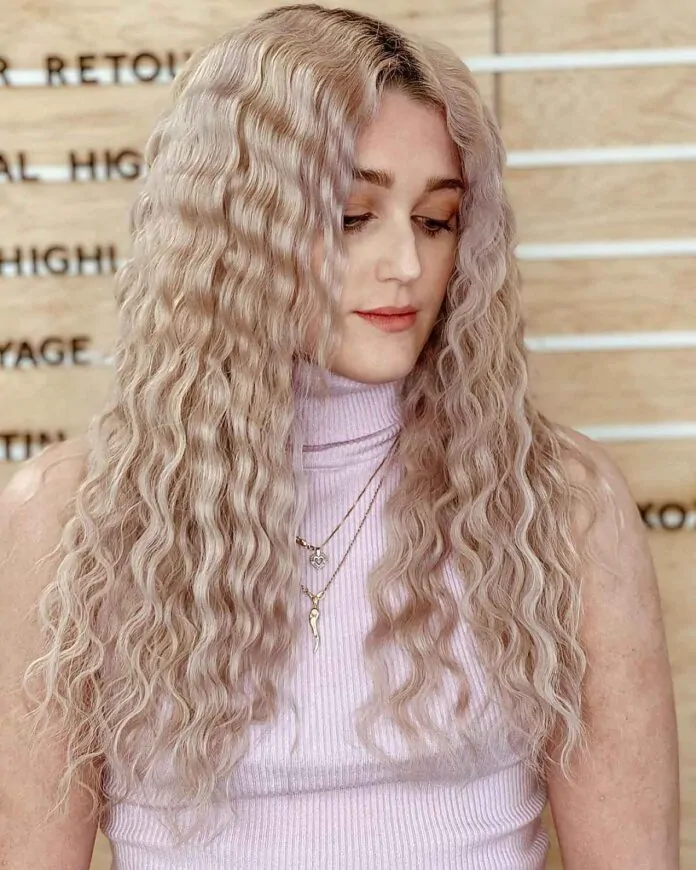
You can create this style in just four easy steps. All you need is a brush and a finishing spray.
Step 1: Brush down your hair to get rid of small knots in your mane.
Step2: Section your hair into smaller portions, then braid each part.
Step3: Glide your straightener down each braided section and leave for a few minutes to cool.
Step4: Unbraid the hair and run through with your hands. Apply a finishing spray to give texture and shine. And that’s it, quite easy.
Choose a quality hair straightener here.
4. Braided Out Wave
The technique used to create this style is similar to that of the crimp craze wave. The only difference is that you will make a big braid to come out wavy rather than crimpy.
5. Feathered Bang
Looking to switch up your bang games? Then this style is for you. You can achieve it in just one step. Clasp the bang between your straightener and twist it away from your face, do this until you cover the whole area of your head. Apply finishing spray for more volume, texture, and shine.
6. Glass Hair
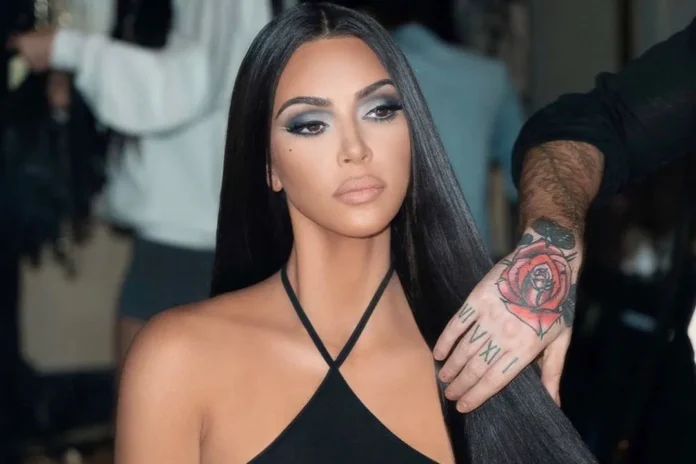
This style has been in trend for a long time. Before you can create this style, get a perfect haircut from your stylist.
Step 1: Part your mane into four sections. Then pick a portion working with 2-inch hair at a time.
Step 2: Gently glide the straightener down the 2-inch hair you are working on, then run through with a thin-tooth comb.
Step 3: Continue with the step above until you cover the whole area of your hair. Apply serum to give it shine and tame flyaways.
7. Simple Curls
This style is easy to create, and you can wear it every day. You need a sectioning clip, bristle brush, and finishing spray. And here is how to go about it:
Step 1: Section your hair horizontally into two halves. Use a sectioning clip to separate the crown from the base.
Step 2: Use a bristle brush to brush down the base to remove tangles in the hair.
Step 3: Hold 1.5 inches of your hair and place it between the straightener up to 2 inches from the root.
Step 4: Twist the straightener away from your face and gently glide it down to the end. Straighten the tip to give the curls a more defined look.
Step 5: Pick another 1.5 inches of your hair. Then twist the straightener towards your face and gently glide it down. Continue alternating between twisting towards and away from your face until you finish with that layer.
Step 6: Move to the layer on your crown. You can also section that part into two different layers if you have thick hair. And repeat the process in steps 3 to 5.
Step7: Apply hairspray to the curls (not the root) to give it more volume, texture, and hold. Then run your fingers through the waves, and that’s it.
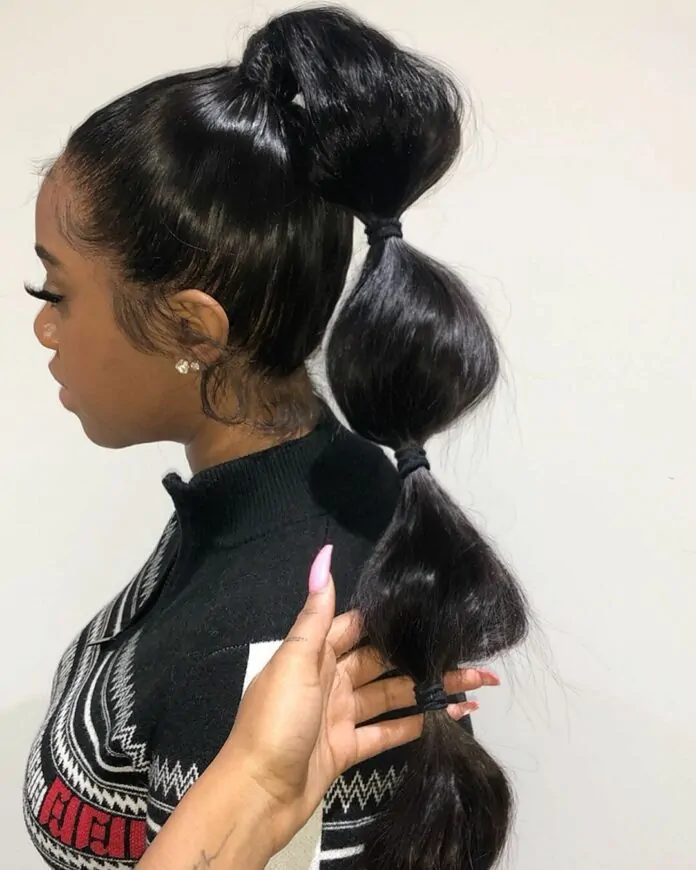
8. Party Ponytail
You can create this style with these steps;
Step 1: Brush up all your hair to the crown of your head. Then, secure it in a ponytail with an elastic hairband.
Step 2: Pick 1 inch of your hair from the ponytail. And glide your straightener down the hair twisting your wrist away from your head.
Step 3: Continue with the step above for other sections till you cover your whole hair. Run your finger through the curls and finish with hair spray for more texture and volume.
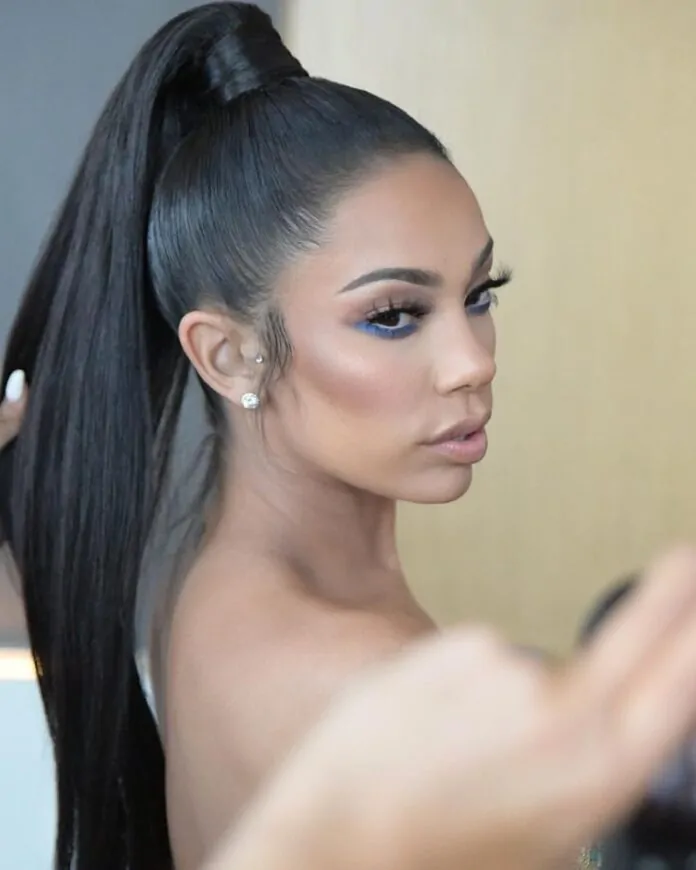
9. Power Pony
To create this style, you need a dressing brush, sectioning clip, elastic hairband, and a finishing spray. And here is a guide on how to make this look.
Step 1: Section the hair horizontally into two halves; you should have a section at the crown and another at the back. Hold each section down with a sectioning clip.
Step 2: Smoothen the section at the crown with a dressing brush, brush in line with your cheekbones.
Step 3: Secure that section of your hair with a small elastic hair band. Then, please move to the other portion at the back and smoothen it. Brush it to meet the front section in the middle. And secure both parts together, now you have packed your hair into one.
Step 4: Spray the finishing spray on your palms and rub it on your hair to give it a sleek look.
Step 5: Wrap a piece of your mane around the elastic and secure it down with a pin.
Step 6: Use your straightener to smoothen up the pony. And that’s it, you have created a power pony.
Conclusion
As you can see in this article, you can use a flat iron to create diverse styles or you can cut your hair with some Japanese steel hair shears. So, now that you know various styles that you can make with a straightener, which would you go for?